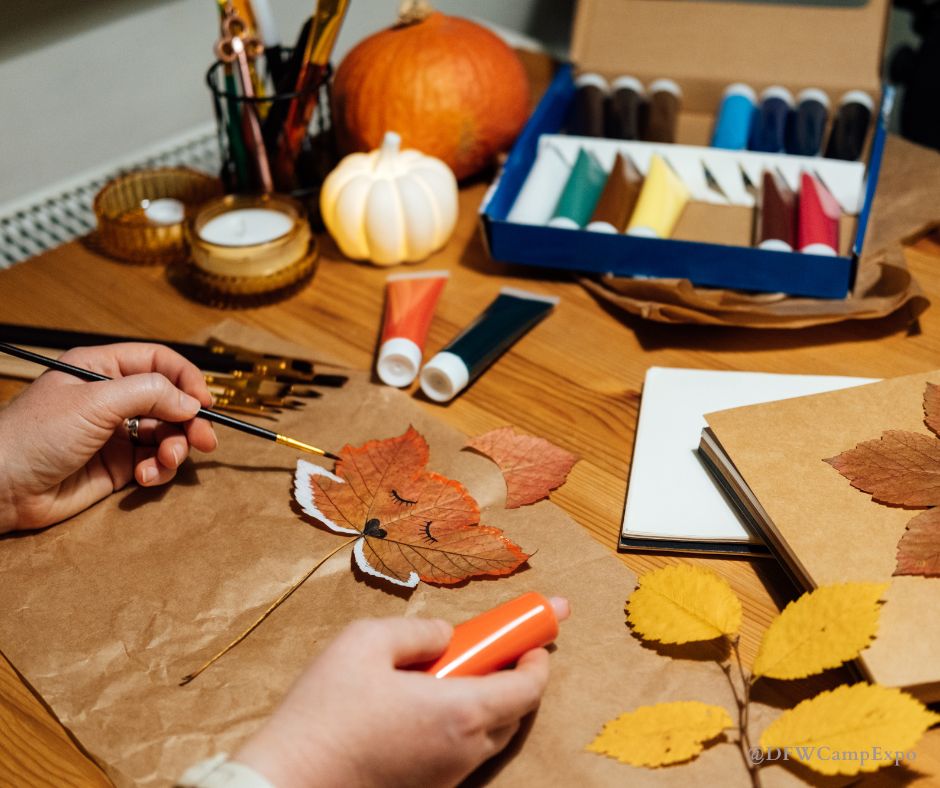
Fall crafts for kids at home with paper can honestly be super simple and actually fun for all—even you, yes, you mom!
We are here to remove the confusion by providing 8 super easy and fun crafts perfect for a cozy afternoon or a weekend of (core) memory-making.
Here are 8 easy fall crafts for kids at home with paper:
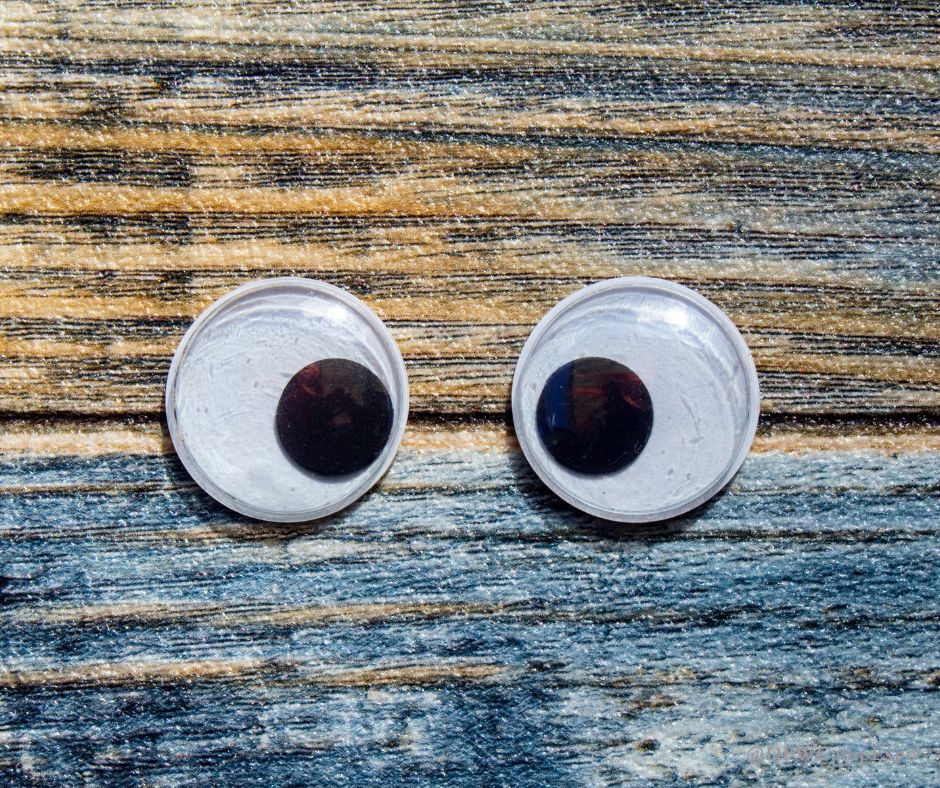
Craft 1: Leafy Friends Puppets
Turn autumn leaves into cute and playful characters with some googly eyes and paper. These little leafy puppets can spark hours of play from these simple fall crafts for kids at home with paper projects!
Best for: Ages 5-8
Materials:
- Construction paper (we suggest orange, yellow, red, brown)
- Googly eyes
- Glue
- Scissors
- Markers
- Popsicle sticks
Instructions:
- Have your kids cut out leaf shapes from fall leaf-colored construction paper.
- Help them glue googly eyes on the leaves to create faces.
- Use markers to draw smiles, cheeks, and goofy or scary expressions.
- Glue a popsicle stick to the back of each leaf to create a puppet.
- Once dry, it’s time to play and show off! Let your little one put on a puppet show with their new leafy friends.
You Might Also Like: 18 Simple Fall Crafts for Kids at Home
Craft 2: 3D Paper Pumpkins
Your kids will love placing these cute 3D paper pumpkins all over your home—mantel, windowsill, dining table, bookshelf, etc. They also make fun gifts for neighbors, friends, and teachers!
Best for: Ages 6-12
Materials:
- Construction paper (orange, yellow, red, brown)
- Glue or tape
- Scissors
- A pencil
Instructions:
- Cut out 8-10 strips of orange construction paper, all the same length (around 1 inch wide and 6 inches long).
- Stack the strips and punch a hole at the top and bottom.
- Fan out the strips to form a circle and glue or tape the ends together to create a pumpkin shape.
- Roll a small piece of green paper to make the pumpkin stem and attach it to the top. Add leaves if you want!
Check out our local’s Guide to the State Fair of Texas
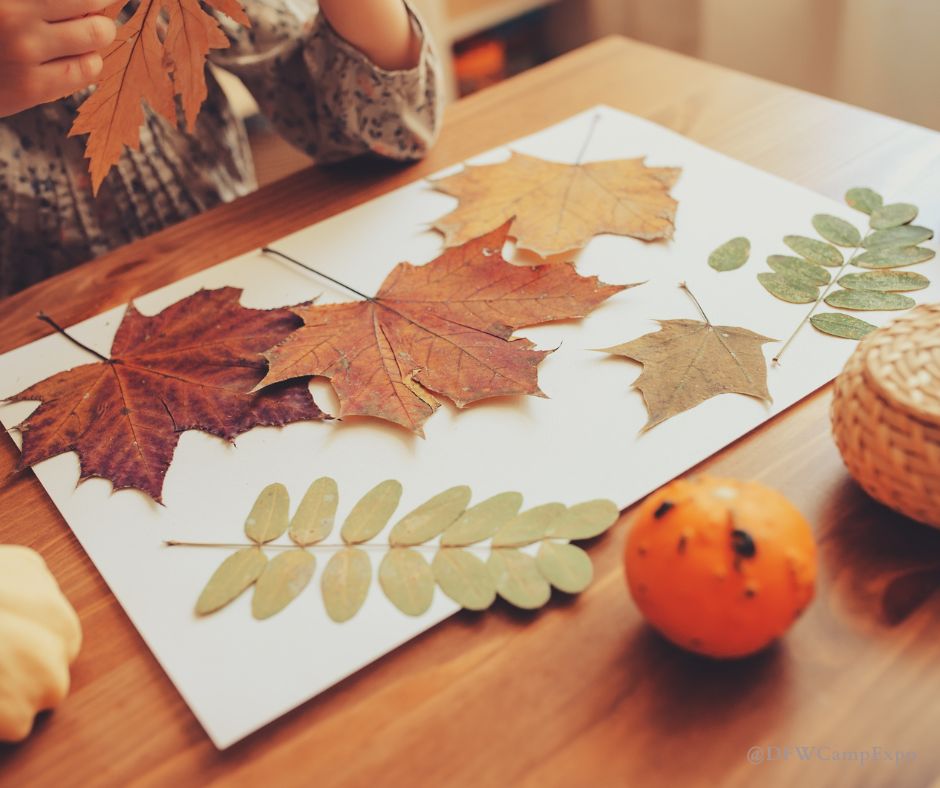
Craft 3: Paper Fall Wreaths
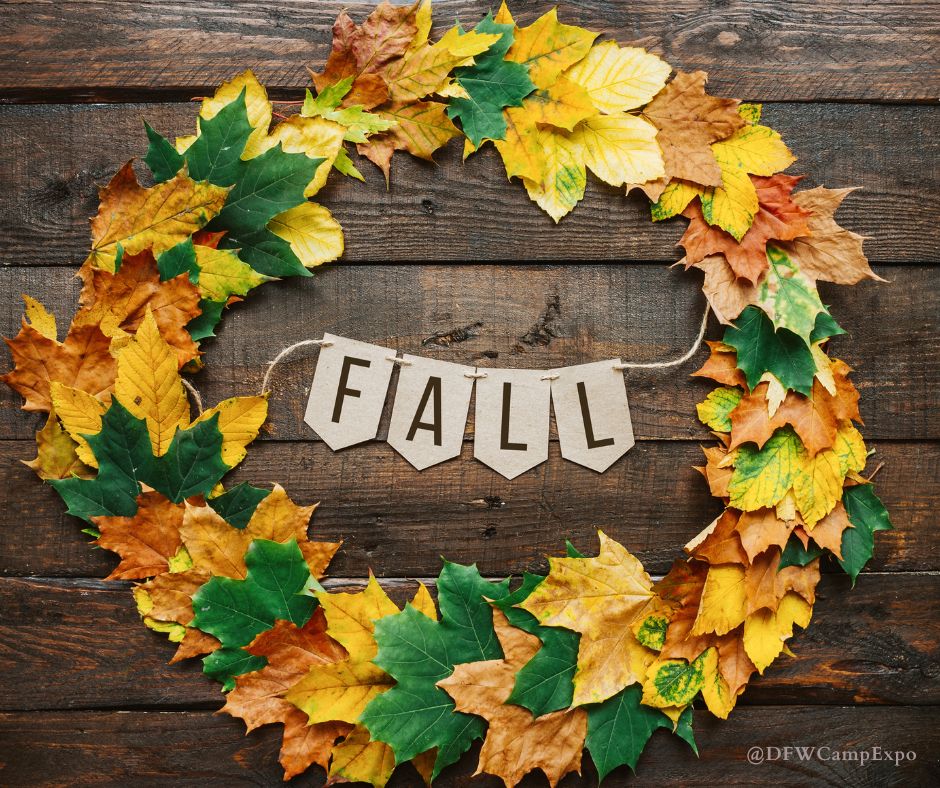
Welcome your friends and family into fall and your home with a hand-made fall wreath on your door. Kids will love seeing their hard work on their bedroom doors as well!
This is one of our favorite fall crafts for kids at home, with paper projects on this list:
Best for: Ages 6+
Materials:
- Construction paper (red, orange, yellow, brown)
- Paper plate
- Glue stick
- Scissors
- Ribbon (for hanging)
Instructions:
- Cut out the center of a paper plate, leaving only the outer ring to act as the wreath base.
- From the construction paper, have your child cut out leaf shapes in various fall colors. Use your creative spirit for this one!
- Glue the leaves around the edge of the paper plate, overlapping them as you go.
- Once the wreath is full, you can attach a ribbon to the top for hanging.
You Might Also like: 10 Best Fall Festivals in Dallas TX
Craft 4: Paper Strip Fall Garlands
This one is super easy and brings so much color to your home. With just a few strips of paper, your kids can create a festive fall garland to drape around the house!
Best for: Ages 5+
Materials:
- Orange, red, yellow, and brown construction paper
- Scissors
- Glue or tape
Instructions:
- Cut strips of construction paper, each about an inch wide.
- Form the first strip into a circle and glue or tape the ends together.
- Loop the next strip through the first one to create a chain and glue/tape the ends.
- Continue adding loops until your garland is the length you like it.
Read: 11 Best Places to See Fall Colors in Dallas
Craft 5: Tissue Paper Fall Leaves
These delicate tissue paper leaves can add a colorful touch of fall coziness to any window. When sunlight streams through, the tissue paper glows, giving your home a warm fall feel.
Best for: Ages 5+
Materials:
- Construction paper (brown or black)
- Tissue paper (yellow, red, orange)
- Scissors
- Glue
Instructions:
- Cut out a leaf outline from the construction paper, leaving a hollow center.
- Tear small pieces of tissue paper in various fall colors.
- Glue the tissue paper inside the leaf outline, filling the entire shape.
- Once dry, tape your tissue paper leaves to a sunny window to catch the light.
You Might Also Like: 16 Top Dallas Family Fall Activities
Craft 6: Accordion Fold Paper Bats
Bring a little spooky fun to your fall crafting—it is the spooky season, after all! These simple accordion paper bats are perfect for decorating windows, walls, and doorways.
Best for: Ages 5+
Materials:
- Black construction paper
- Scissors
- Glue
- Googly eyes
- White crayon or chalk
Instructions:
- Cut a rectangle of black construction paper and fold it accordion-style.
- Once folded, pinch the center and glue the edges to create bat wings.
- Cut out a small bat body and head from the remaining black paper.
- Attach googly eyes and draw a small mouth with a white crayon.
- Glue the wings to the body, and you have a bat ready to hang!
- Make a lot and hang them together all over!
Read: Where to Buy Pumpkins in DFW
Craft 7: Paper Plate Scarecrow Faces
Scarecrows are such a classic symbol of fall, so we had to include them!
This simple and silly fall craft for kids at home with a paper project will get the giggles going as kids make their own goofy or grumpy scarecrow faces.
Best for: Ages 4-8
Materials:
- Paper plates
- Glue
- Markers
- Googly eyes
- Construction paper (brown, orange, yellow)
- Scissors
Instructions:
- Start by giving your scarecrow a face! Draw or glue on googly eyes, and use the markers to make a fun, scary, grumpy, or silly expression. You can even make several to represent all emotions!
- Trim strips of yellow construction paper for the scarecrow’s “straw” hair and glue it to the top of the plate.
- Cut a hat shape from brown construction paper and glue it at the top of the plate, covering the hair.
- Trim out a tiny triangle from orange construction paper to make a cute little nose and glue it in place.
- Let your scarecrow dry, and then hang it up for all to see!
You Might Also Like: 10 Day Trips from Dallas to See Fall Foliage
Craft 8: Fall Tree Silhouettes
Bring the outdoors in with this vibrant and colorful craft!
Best for: Ages 5-10
Materials:
- Black paper
- White paper
- Red, yellow, and orange tissue or construction paper scraps
- Glue stick
- Scissors
Instructions:
- Have your child cut a large tree silhouette from the black construction paper. It can be as simple as a big trunk with branches, or get detailed!
- Glue the tree silhouette onto a white sheet of paper.
- Tear the red, yellow, and orange paper or tissue paper into small pieces.
- Glue the torn paper around the branches to resemble falling autumn leaves.
- For extra fun, scatter some ‘leaves’ at the base of the tree to make it more realistic! Since we are in “fall” after all!
There you have it! 8 fall crafts for kids at home with paper projects only require paper and a few household supplies. Whether you’re making pumpkins or scarecrow faces, these fall crafts for kids at home with paper make this season craft-tastic.
We’d all love to see your fall paper crafts! Share your creations with us in the comments below or on social media—be sure to tag us on Facebook. And if you’re looking for more festive ideas, check out our Fall Fest blog for more great seasonal inspiration!
Get your free tickets to DFW Fall Fest